|
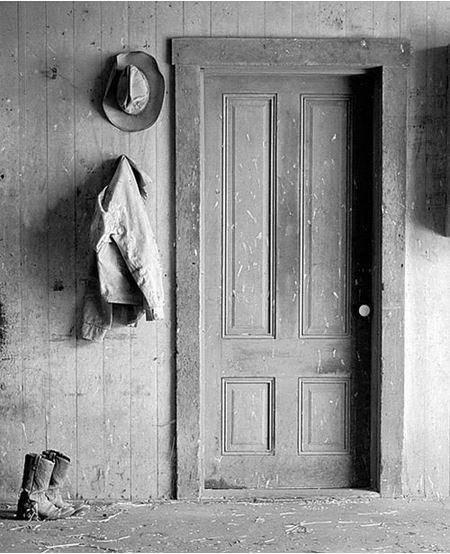
Colorize Black & White Photo
This tutorial will teach you how to add color back into the old, black and white photograph to the left. It's a lot of fun scanning and colorizing old family portraits, or bringing vintage photos into the modern world. Save the file as lastname+firstname+colorize in JPEG file format and upload to Google Drive. |
|
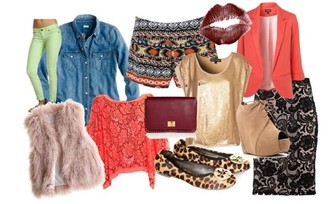
Collage Project
Create a Photoshop collage of things that describe you and your interests. Create a new file in Photoshop of a size of 720 x 480 pixels (720 is width and 480 is height) with 72 resolution. You must cut out all the items you chose using the selection tool of your choice and layer mask. You must include a minimum of 25 images. Make sure to place each image on a separate layer. Save the file as lastname+firstname+collage in JPEG file format and upload to Google Drive. |
|
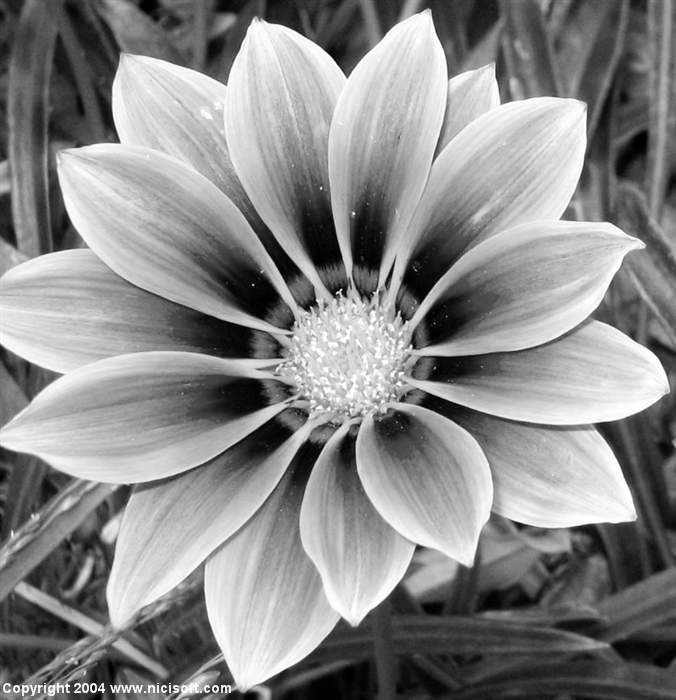
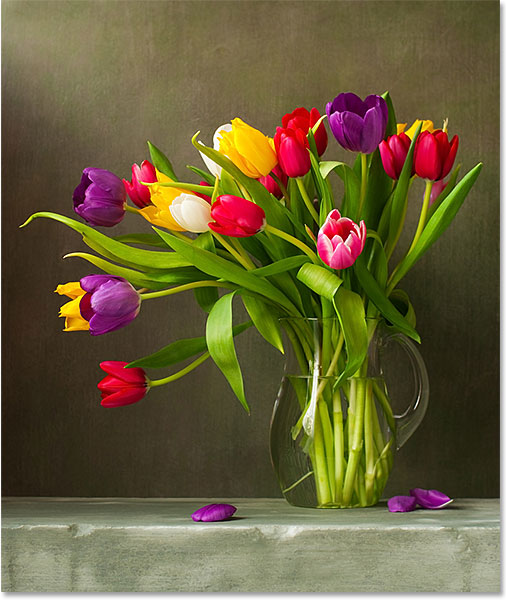
Flower Project
Change this image of the black and white flower into a color image. Each pedal must be a different color (different shades of the similar colors) and the grass color must be painted as well. Save the file as lastname+firstname+flower in JPEG file format and upload to Google Drive. |
|
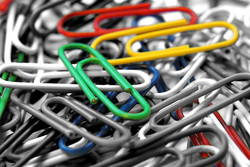
Splash of Color Project
Something that photographers and graphic editors make the big bucks doing is adding a splash of color to black and white photos. This technique adds interest and elegance to photos of weddings, nature, cute babies, and everything in between. In this project, you will apply the skills you learned in the Black & White Photo Project by adding a splash of color to a monotone picture of your choice. Choose an image of something that you like or will be a good example of your newly acquired skills. Search on Google to find a black & white picture of your choice. Use selection and Quick Mask tools in Photoshop to color a few particular areas of the photo to add interest and bring life to the scene. Be sure to be very precise with your selection and coloring! Save your project lastname+firstname+splash in JPEG file format and upload to Google Drive. |
|
Watercolor Painting Effect
In this Photoshop effects tutorial, we’re going to learn how to easily make a photo look more like a watercolor painting. This photo effect works best on images where maintaining rich colors and strong contrast is more important than keeping any fine details, since you’ll be losing a lot of detail with this effect. You will use the image to the right for this tutorial. When complete save your project lastname+firstname+watercolor in JPEG file format and upload to Google Drive. |
|
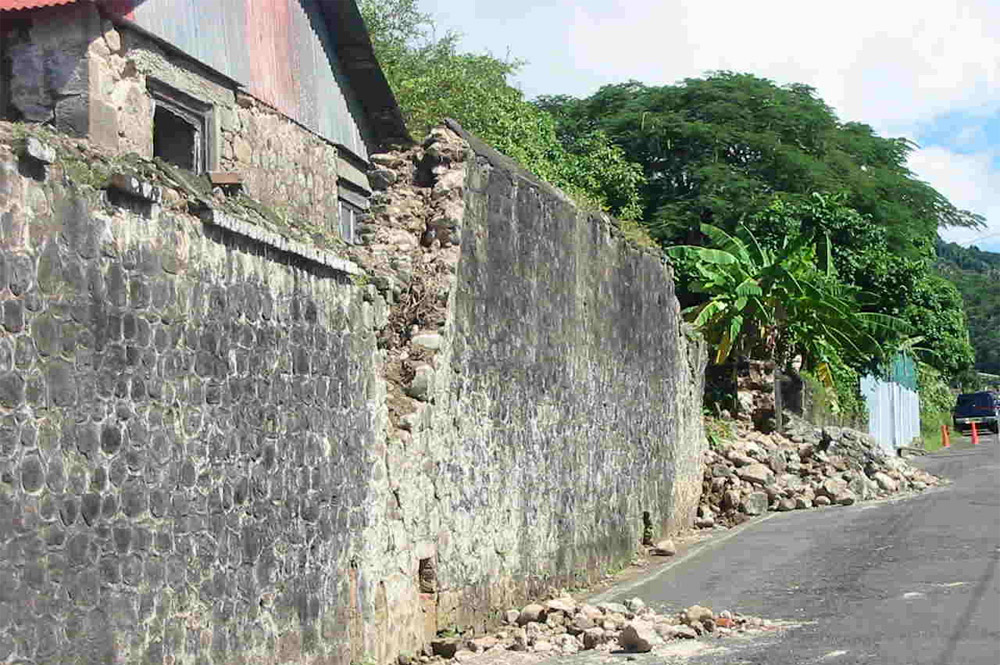
Graffiti with Photoshop
Graffiti can be found on walls and buildings throughout America. Sometimes it is an act of defacing property, but other times it is an art form. You are going to use the weblink to complete the tutorial for creating graffiti on a wall. A few things different from the tutorial are the following: 1-Use wall image provided to the left 2-Must have a least 5 different graffiti words (different fonts for each) 3-Must rasterize the type before you change perspective (Layer>Type>Rasterize) 4-Use distort with perspective under transform to get to look more realistic on the wall 5-Change the blending mode to overlay, adjust opacity as well to make more realistic When complete save your project lastname+firstname+graffiti in JPEG file format and upload to Google Drive. |
|
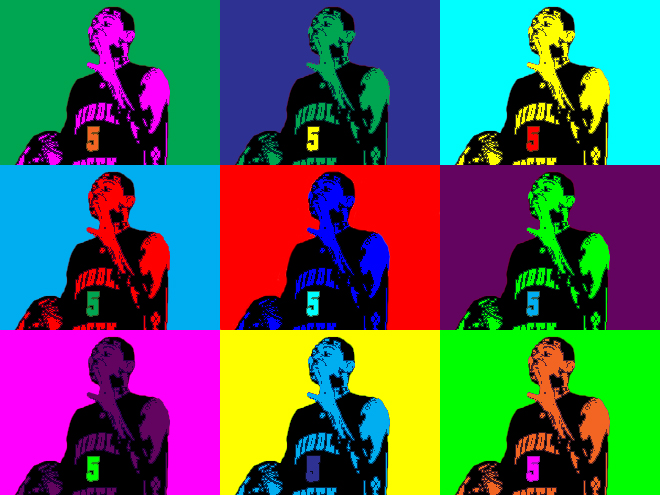
Warhol Project
You will use the tutorial found here to create a Warhol effect with 9 different images (not the same image as in the example). In this project, you are going to paint several renditions of a picture of yourself and arrange it in a grid. Use a different picture in each frame for this project. Do not use the same picture as the 3 across Warhol. First you will use the on-board camera of your smartphone to take your picture. Be creative with your pose so your project will be appealing and interesting! You can also find an image online to use if you prefer. You will apply the same technique inside Photoshop to make it look like a black and white sketch, then use your selection and coloring techniques to create the Warhol effect. You want to have a minimum of 3 different colors per box. Remember to use bright colors! As you work, save your project as a .psd and name it lastname+firstname+warhol.psd. When you are finished, save it again as a JPEG with the same name (ex: stilesnatashawarhol.jpg) Submit the .JPG file to Google Drive. |
|
Gradient Layer Mask Project
You have been hired as a graphic designer by Showcase Advertising Agency. They want to create two advertisements for upcoming events. Use the directions from the Gradient Mask (Mozart) tutorial that demonstrates how to use gradients with a layer mask to create 2 advertising ads of different events of your choice. Create a new document 720 x 480 pixels in size. Find 3 images that relate to your event topic. Decide which image will be your background and move it onto the new document. Then move the other 2 images onto the background and blend the 3 images together using layer masks with gradient. Remember to be careful not to show the edges of the other images. Then create the transparency on the white title bar at the bottom and add an original catchy slogan to go with your ad. As you work, save your project as a .psd and name it lastname+firstname+gmaskad1.psd (will be gmaskad2 for the second ad). When you are finished, save it again as a JPEG with the same name (ex: stilesnatashagmaskad1.jpg) Submit the .JPG file to Google Drive. | ||
|
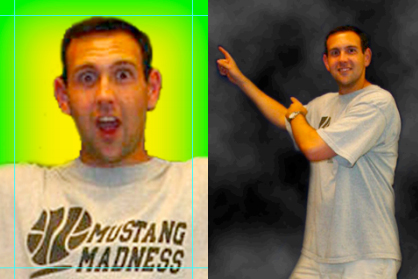
Studio Portrait Project
Professional photographers use a tarp or a background behind their subject when taking portraits of people or objects. There is a way to simulate both effects in Photoshop. There are two tutorials that will visually walk you through how to make a soft edge studio background and a tarp studio background.
| ||||
|
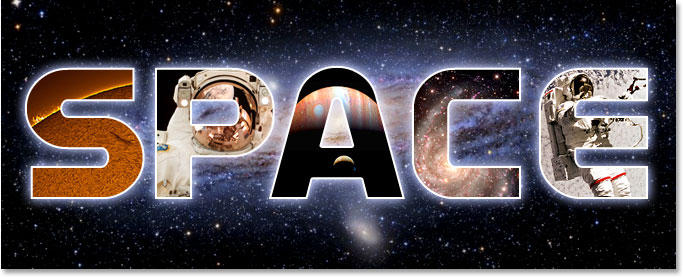
Picture Letters Project
Using the layer mask technique in Photoshop is often used for placing part of an image inside a particular selection on your canvas. A good example of this is fitting pictures inside letters of a word or phrase. In this project, you will get a collection of pictures from the internet that represent who you are. We will practice using the layer mask technique by placing each of your images inside each letter of your first name. Start by creating a new document in Photoshop that is 1000 pixels wide and 250 pixels tall. Use the text tool ( T ) to type your name, then Layer>Rasterize>Type, then place a new image inside each letter using selection tools and masks. Be sure to maneuver the layer mask and picture so that the image is easily distinguishable and interesting. Add a Layer Style to the text to make it stand out and add a background behind the text that relates. As you work, save your project as a .psd and name it lastname+firstname+letters.psd. When you are finished, save it again as a JPEG with the same name (ex: stilesnatasha.jpg) Submit the .JPG file to Google Drive. |

|
Stamps Project
Postal Stamps have marked American history through various designs over the years. Create a series of stamps based on a common theme (ex SpongeBob). Save and open the Stamp Outline template provided in Photoshop. All your stamps must have a common theme (if you choose cars, you must use cars for all your stamps, but you can use different types of cars). Make sure all stamps have a similar look. Make sure all cut out image edges are clean, smooth, and not distorted. Remember to add the price of the stamp (45 cents) and the letters USA to the stamp. Use Arial Black for the stamp price and USA lettering. Create 6 total stamps. Save the file as lastname+firstnamel+stamp1, (stamp2, stamp3, etc.). As you work, save your project as a .psd and name it lastname+firstnamel+stamp1, (stamp2, stamp3, etc.). When you are finished, save it again as a JPEG with the same name (ex: stielsnatashastamp1.jpg) Submit the .JPG files to Google Drive. | ||
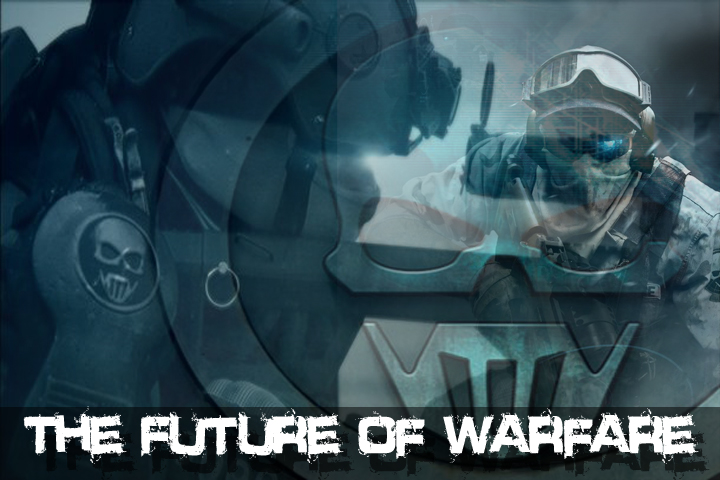
Digital Media Banner Project
Banners are used the professional world to showcase or display company information. Banners can be printed or on-line like those found on websites. You are going to create a web banner for Digital Media.
Create a new file 400 x 150 pixels. You are going to create a logo banner for Digital Media. Find at least 20 images on-line that represent what digital media is and what this class is about. Use Layer Mask to cut out each image. Combine these images on a background that you create using Filters in Photoshop to represent digital media. Finish the banner off by adding the text – Digital Media – in the font choice that you think best fits. Experiment with powerful and impactful fonts. Add layer styles to the text and to the images to make them stand out.
As you work, save your project as a .psd and name it lastname+firstname+banner.psd. When you are finished, save it again as a JPEG with the same name (ex: stilesnatashabanner.jpg) Submit the .JPG file to Google Drive.
|
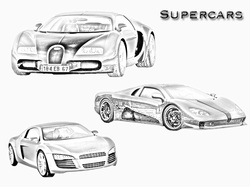
Photo Sketch Project
You are going to turn 2 photo collages into a sketch. You will create 2 different sketches. Find 3 similar images by topic of your choice online (ex. 3 basketball players or 3 cars, etc). Create a new file at 720 x 480 pixels and fill it with white. Combine the 3 images into the new image by cutting out to keep what you want and placing them on the white background. Use the tutorial to turn your photo into a sketch. Once your sketch effect is applied, use burn tool to add to any places that need to be darker. Finally add some text of a color that relates to your subject and add layer style effects to the text. As you work, save your project as a .psd and name it lastname+firstname+sketch1 (or sketch 2). When you are finished, save it again as a JPEG with the same name (ex: stilesnatashasketch1.jpg, stilesnatashasketch2.jpg) Submit the .JPG files to Google Drive. | ||
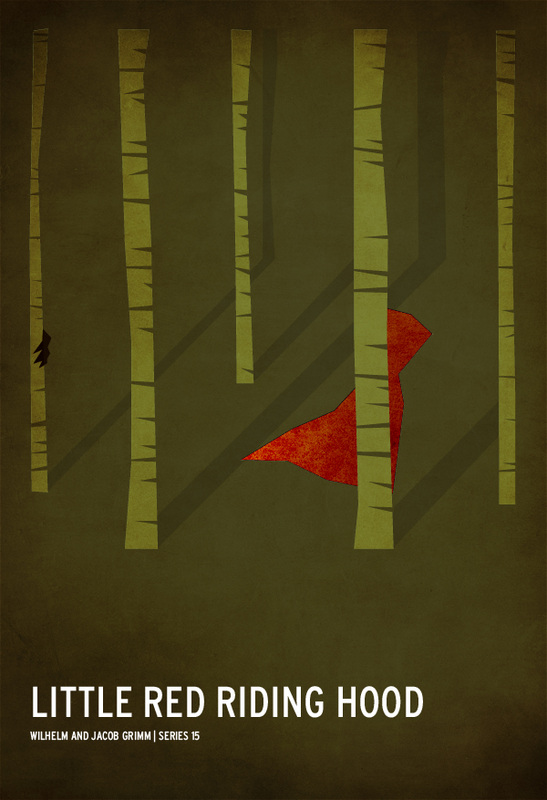
Minimalist Redesign
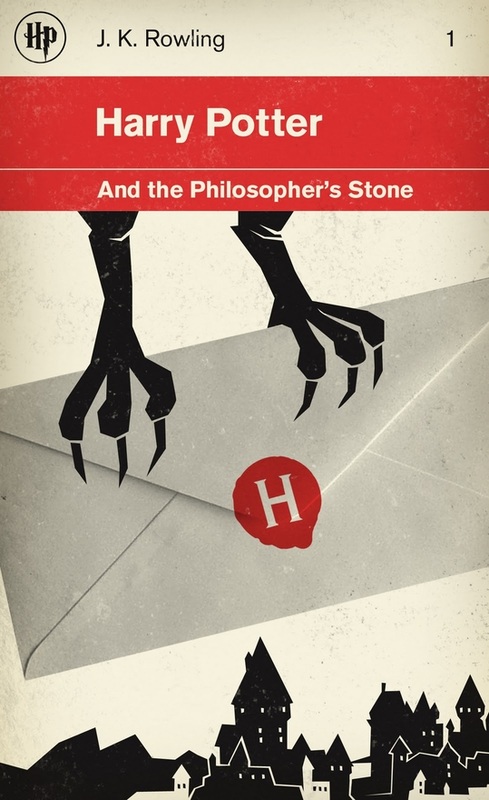
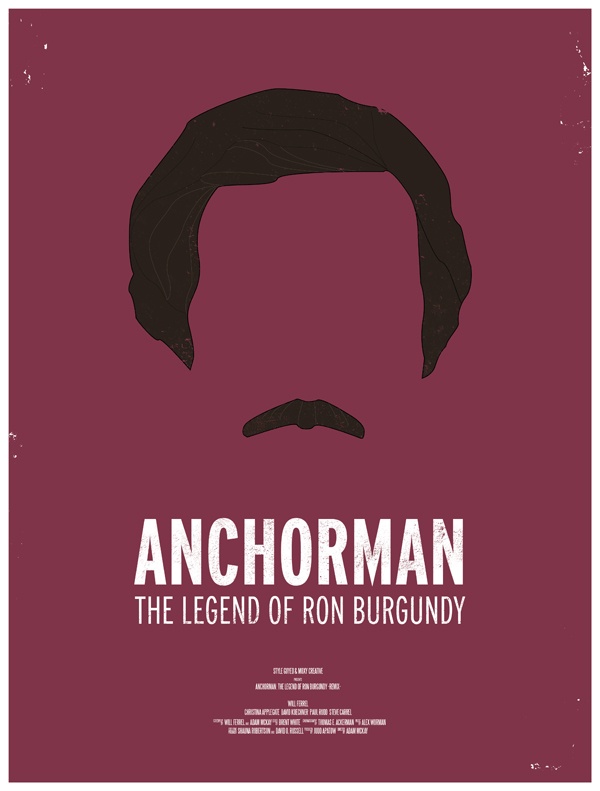
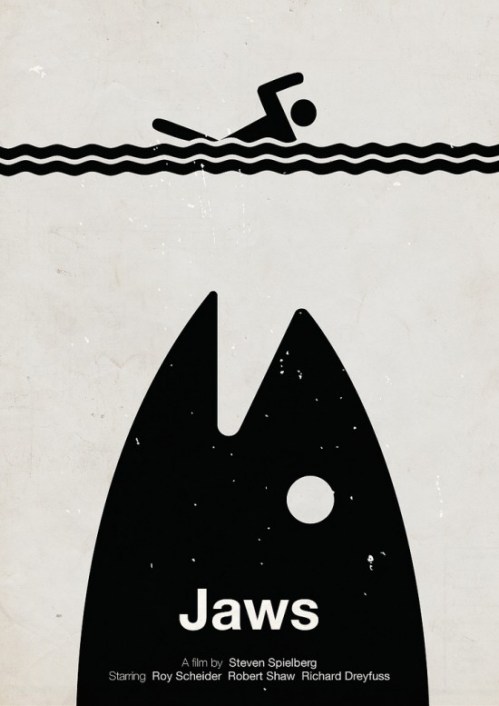
Using your Photoshop skills, choose either a Book or a Movie and look up the original cover/poster to use as inspiration. You will create a minimalist version with the least amount of elements possible that still communicates the book or movie clearly to your audience. Everything must be an original drawing of yours, no internet images. Name the file firstname+lastname+redesign. Save it as a JPEG and submit it to Google Drive. Look at the examples for reference.
Using your Photoshop skills, choose either a Book or a Movie and look up the original cover/poster to use as inspiration. You will create a minimalist version with the least amount of elements possible that still communicates the book or movie clearly to your audience. Everything must be an original drawing of yours, no internet images. Name the file firstname+lastname+redesign. Save it as a JPEG and submit it to Google Drive. Look at the examples for reference.
|
|
|
|
Pinhole Camera
Picture It: How do cameras handle light?
This project will investigate how images are influenced by changes in light. We will be examining the function of aperture size and shutter speed.
How do changes in aperture size and shutter speed affect the photograph?
The main component vital to any good photograph is light. Cameras are designed to process light in fractions of a second to produce the beautiful photographs we see today. Light passes through the lens on the camera or an opening for light to pass through, projecting an inverted image onto the film. You can adjust the amount of light by changing the size of the opening at which light passes as well as the open time. Using a digital camera or making a pinhole camera we can observe the effects of these changes through the images produced.
Digital camera with manual settings: f-stop control and shutter speed.
OR
Pinhole camera
Light-tight container: oatmeal box, coffee can, shoe box, etc. Use your imagination!
35mm camera film
pin
scissors
electrical tape
black paint (spray paint or acrylic paint)
The following procedure is for digital cameras.
- Set your camera to a manual setting. You should be able to control the f-stop and shutter speed.
- Choose your subject and setup a tripod or on a table so that the camera is in the same position for every photo. Choose an area where their is moderate light. Not too dark or too bright.
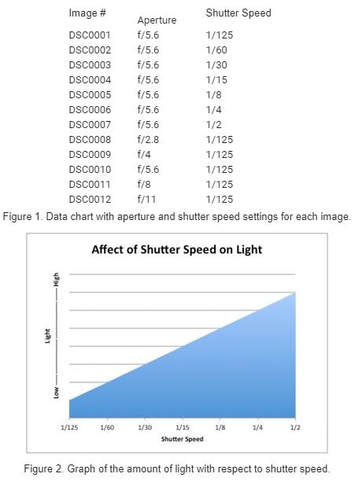
- Start by setting the camera aperture to f/5.6
- Set your shutter speed to 1/250s.
- Take an image.
- Record the exposure number along with the shutter speed setting and aperture in a chart (Figure 1).
- Repeat, setting your shutter speed to 1/125s, 1/60s, 1/30s, 1/15s,1/8s, 1/4s, 1/2s, 1s.
- Set your shutter speed to 1/125s.
- Set your aperture to f/2.8.
- Take an image.
- Record the exposure number along with the shutter speed and aperture setting in a chart (Figure 1). Repeat, setting the aperture to f/4, f/5.6, f/8, f/11.
- You can repeat steps 9-12 but change the shutter speed in step 8.
- Load your photos onto your computer.
- Using your exposure number chart rename the image with its shutter speed and aperture setting. ex. "1-125, f2-8". Use dashes if your program does not allow you to use names with "/" or ".".
- Graph your results (Figure 2).
- Changes in shutter speed
- Changes in aperture size/f-stop.
Terms/Concepts: Exposure; f-stop; shutter speed; How do film cameras work?; How do digital cameras work?
References:
http://wwwca.kodak.com/global/en/consumer/education/lessonPlans/pinholeCamera/pinholeCanBox.shtml
http://www.youtube.com/watch?v=qnnHjz8pF1M&feature=related
Author: Melissa Bautista
Disclaimer and Safety Precautions
Education.com provides the Science Fair Project Ideas for informational purposes only. Education.com does not make any guarantee or representation regarding the Science Fair Project Ideas and is not responsible or liable for any loss or damage, directly or indirectly, caused by your use of such information. By accessing the Science Fair Project Ideas, you waive and renounce any claims against Education.com that arise thereof. In addition, your access to Education.com's website and Science Fair Project Ideas is covered by Education.com's Privacy Policy and site Terms of Use, which include limitations on Education.com's liability.
Warning is hereby given that not all Project Ideas are appropriate for all individuals or in all circumstances. Implementation of any Science Project Idea should be undertaken only in appropriate settings and with appropriate parental or other supervision. Reading and following the safety precautions of all materials used in a project is the sole responsibility of each individual. For further information, consult your state's handbook of Science Safety.
For more fun and engaging activities, go to Education.com!
